![[Do it Yourself] Automate Feeds with Drip Irrigation](http://www.growell.co.uk/cdn/shop/articles/7-web_1.jpg?v=1673371536&width=1100)
[Do it Yourself] Automate Feeds with Drip Irrigation
Can't find a system to suit your set-up? Don't worry - you can build your own!
Here's how to create a DIY drip irrigation system.
1. Choose a Tank
- How big is your plant canopy?
- How often will you change your tank?
Every 1m2 of plant canopy uses 4 - 6L of water a day (in good conditions).
To get that, and 25% run-off, you need 6 - 8L per 1m2 of plant canopy per day.
If you changed your tank once a week, you will need at least 56L per 1m2
| Hint |
| If you are recirculating, add an extra 25-30% to allow for pH and CF changes. |

2. Pick a Pump
For a drip irrigation system, you need a high-pressure pump.
The exact size depends on:
- number of drippers
- height of drippers
As an absolute minimum, you need a flow rate of 50L/pH for every dripper.
| Example |
| For 10 drippers, you'd need at least 500 Litres |

3. Build your System
There are two ways to do it:
Option 1: Build a drip ring
Option 2: Create a single drip line with an end stop
It's only worth creating a drip line (option 2) if you only have two rows of plants. You can run your line between these rows.
Even then, you will need to use pressure compensated drippers. Otherwise, the drippers closest to the pump will be at a higher water pressure.
It's easier to create a drip ring (option 1). You'll get a more even water pressure, too.
Here, we'll show you how to build a drip ring.
Step 1
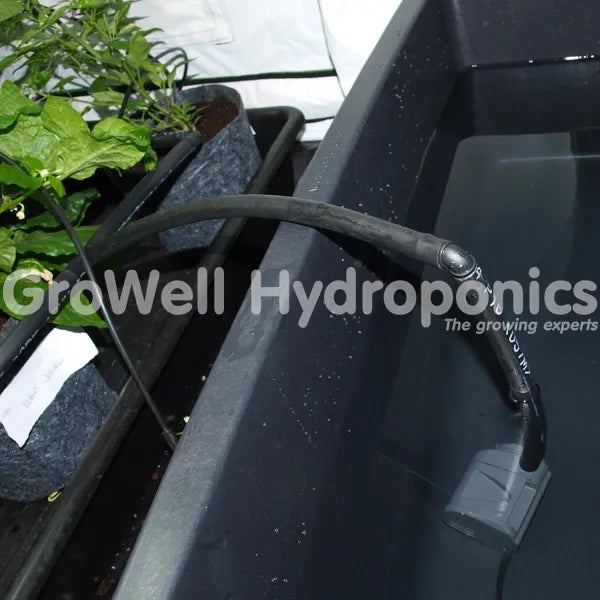
Connect some pipe to your pump (it should be long enough to reach the top of your tank)
Use an Elbow to create a bend, then connect another length of pipe.
Step 2

Attach a Tee Piece to the end of this pipe.
Run pipe around your room, connecting either end to your Tee.
Step 3

Add your pots. Make sure they're well spaced and there's plenty of room for lateral growth.
Each pot should be within reach of a main pipe.
Measure the distance between your main pipe and pots, so you know how long your drip line needs to be.
Step 4
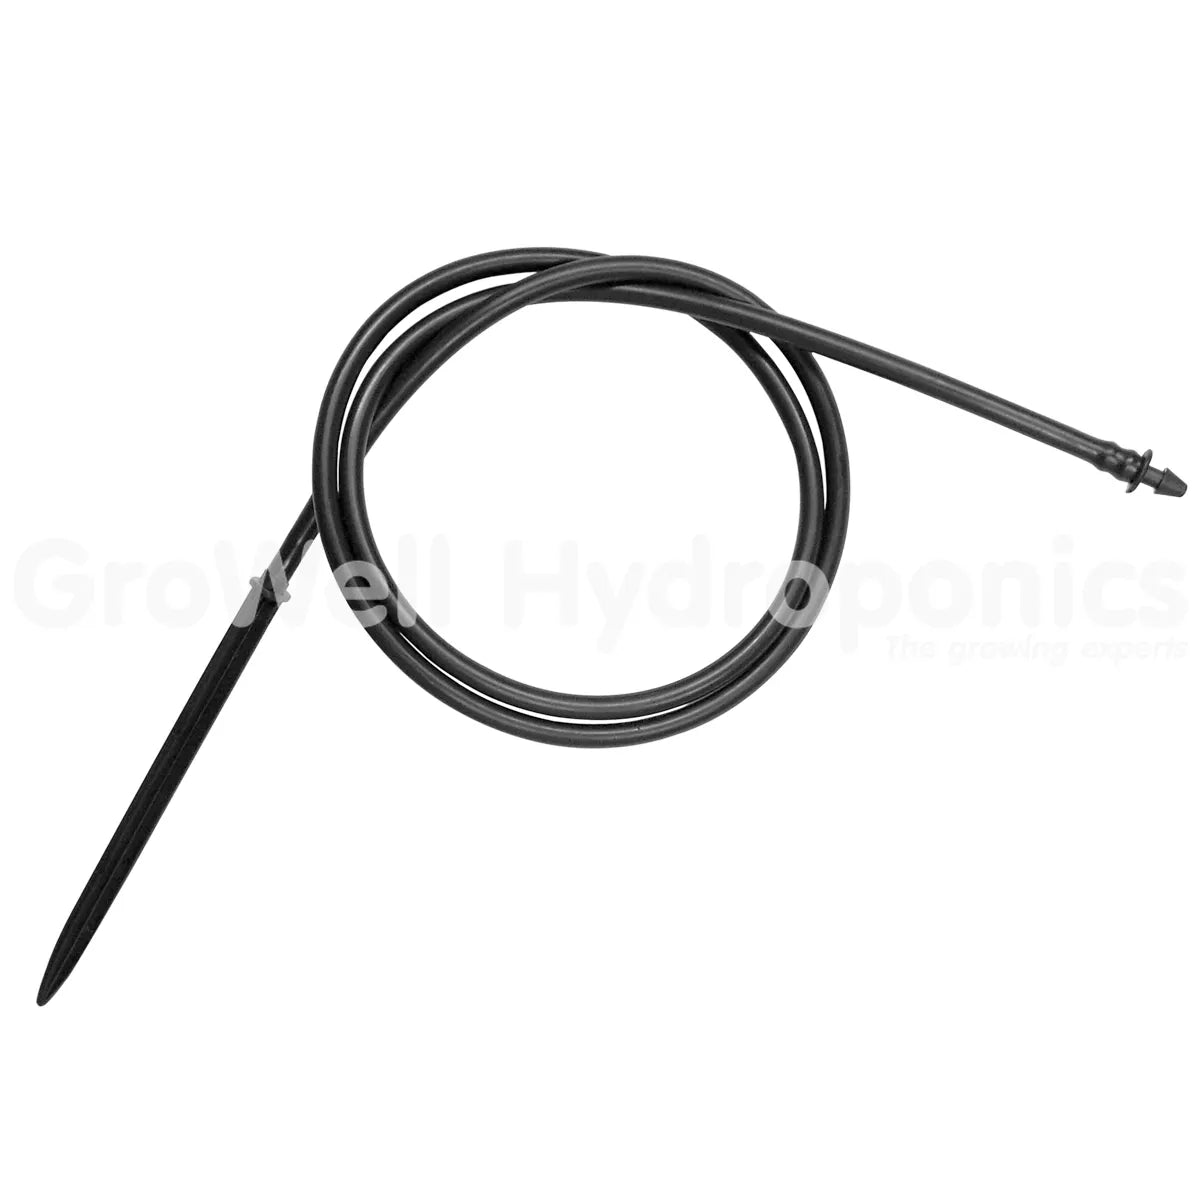
Next, build your dripline (drip line > dripper)
If using PCB's, slot between two bits of drip line:
(long drip line > PCB > short drip line > dripper)
Step 5
Now, you need to attach your assembled drippers and drip line to your main run of pipe.
You can do this in one of two ways:
Option 1: punch holes into pipe

- Punch holes in your pipe
- Attach 4mm Nipples on to your drip lines
- Push the nipples (drip line attached) into the holes
Option 2: Use a manifold

- Attach your drip lines to each manifold outlet
- Work out where you want your manifold to go
- Place F.BSP Tees in these spots, between two lengths of pipe (cut your main pipe where you need to)
- Screw your manifold into your F.BSP


