![How to Build a PROBOX Propagation Tent [Step by Step]](http://www.growell.co.uk/cdn/shop/articles/blog_proboxcutting_seedtent-howtoassemble-_step-by-step.jpg?v=1673371364&width=1100)
How to Build a PROBOX Propagation Tent [Step by Step]
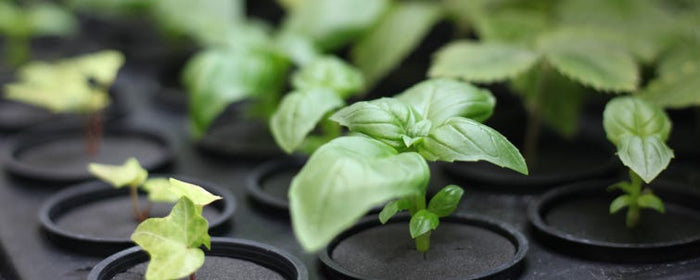
Ready to root up to 720 cuttings in 1 tent? Here's how to do it using a large Garden HighPro PROBOX Tent - they're cloning factories!
You'll learn:
- How to assemble the tent
- Where to position propagators
- Where to place T5 lights
You Need:
Before starting, make sure you've got:
- 1 x Garden HighPro L PROBOX Propagator Tent
- Up to 5 x Hi-Top Unheated Propagators (Large) - 1 per shelf*
- Up to 5 x Exolux Pro T5 Single Tube Lights - 1 per propagator*
- 1 -2 x Pack of Cable Ties
*If you want to follow these steps with an XL PROBOX you can - but you can fit twice as many propagators & lights in it.

How To
Here's how to put everything together.
You can follow the same steps using a Garden HighPRo XL PROBOX - only you can use up to 10 x propagators and up to 10 x T5 lights (2 of each, per shelf).
Step 1

Lay out the tent components and find the base of the canvas
Step 2

Construct the bottom of the frame inside the canvas base
Step 3

Build the frame, working from the bottom up.
Step 4

Assemble the top of the frame
Step 5

Assemble the support poles and clip to the frame
Step 6

Position the shelves and add the protective sheeting
Step 7

Find the roof of the canvas and fit it over the top of the frame
Step 8

Wrap the rest of the canvas around the frame, and close the top and bottom zips
Step 9

Feed the power cables through the cable sock
Step 10

Position your lights and attach to their power cables
Step 11

Place your propagators inside the tent
Step 12

Zip up the tent and place the cover on
To keep a mother plant...
If you want to keep a mother plant, don't add the bottom 3 shelves. You'll need to use a Bright-Wing 2-Tube Mother Clone Light for the mother.
In a PROBOX XL, you'll have space for 2 mother plants.