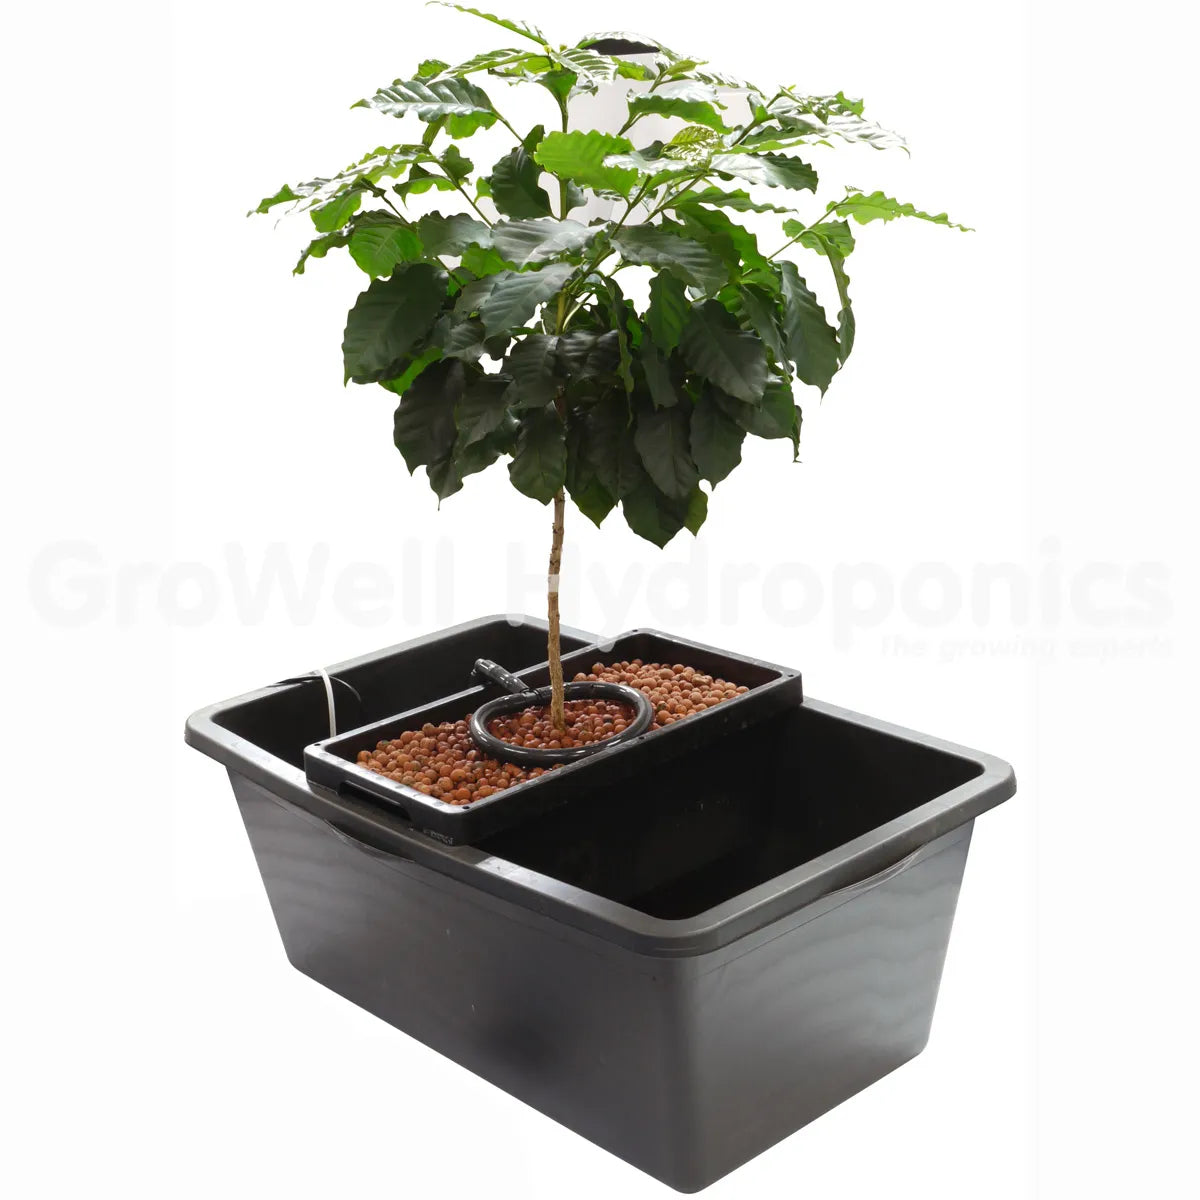
What's the Brummie Bubbler / Oxy-Dripper ?
It's a bubbler and drip system rolled into one.
You get to feed plants from both ends. What's not to love?
How it Works
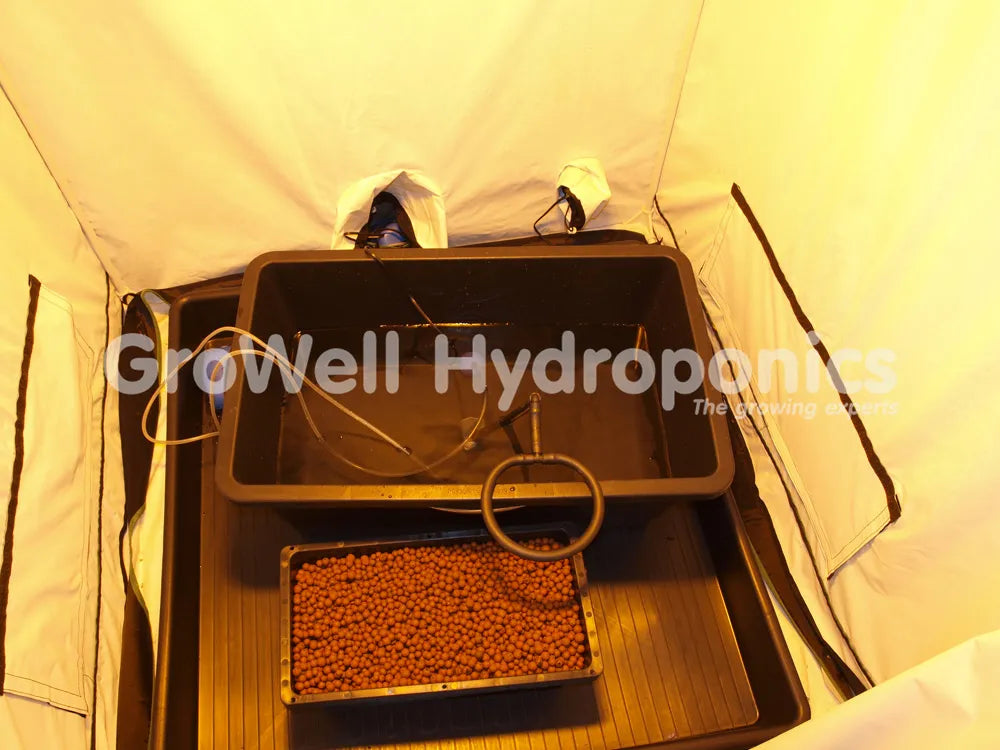
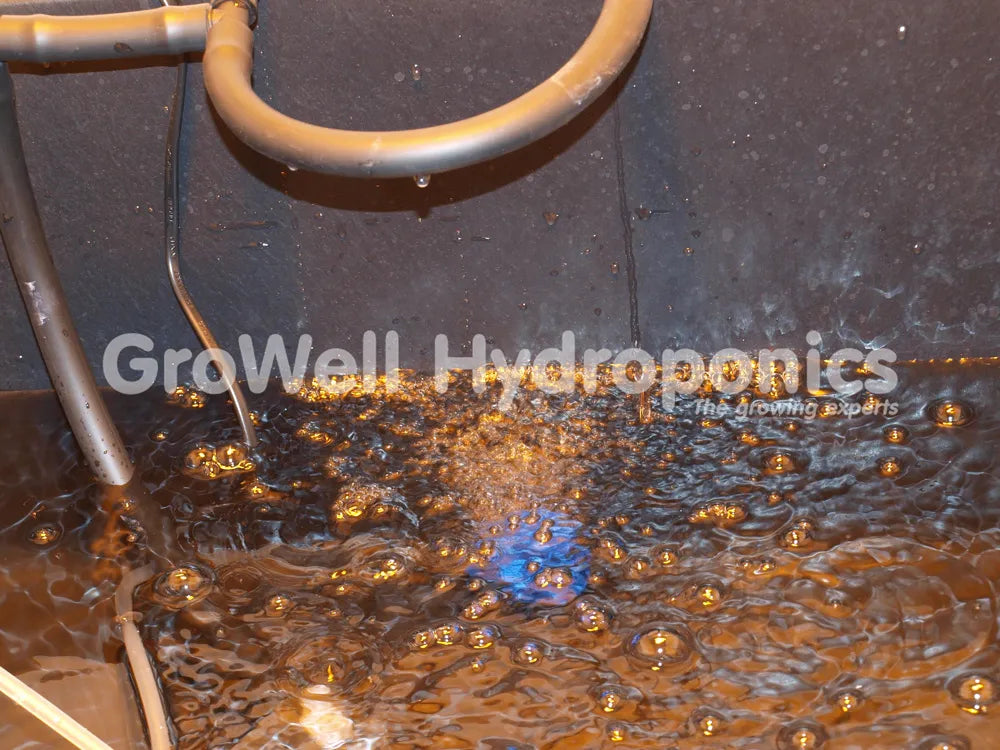
A 90L tank is filled with aerated nutrient solution
A tray filled with clay pebbles sits on top. A drip ring creates a constant flow of nutrent to th top of your media.
Once roots are established, the bubbler bit really comes into its own. Nutrient uptake increases and growth is explosive.
How to Use
You can put one together in less than an hour. And that's if you're working slowly.
Before you begin, make sure you have two plug sockets to spare - one for the air pump, and one for the nutrient pump. You can use an extension lead if you ned one.
Step 1
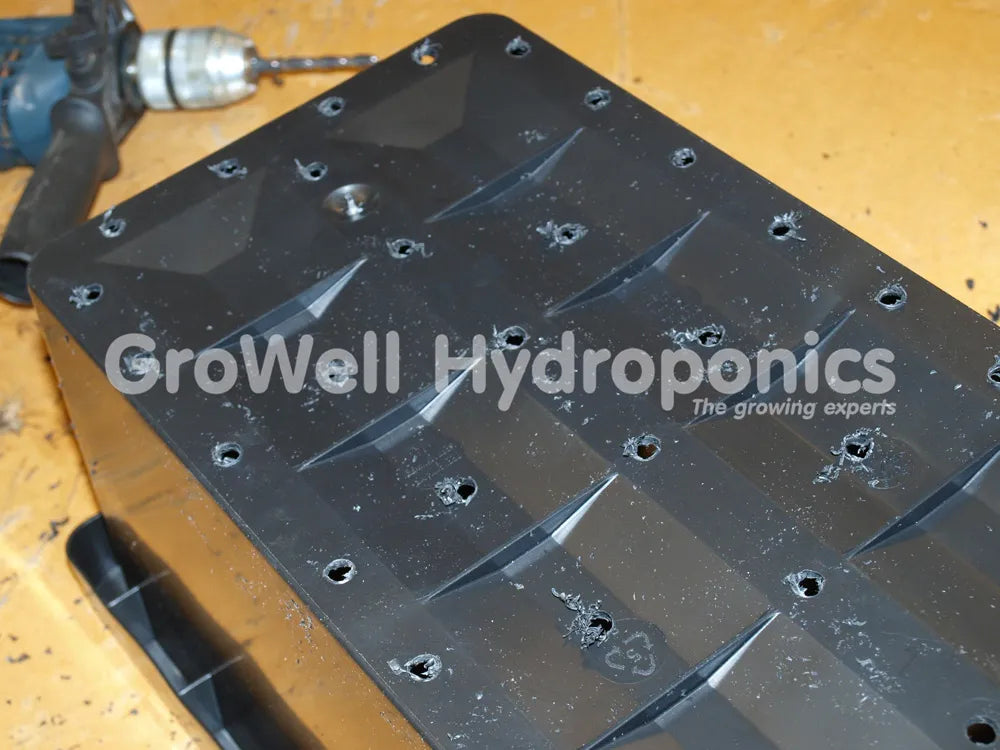
Drill holes into the tray that holds your media.
Feed flows through these holes, back into your tank.
Roots will also eventually grow through them, straight into your tank, which is when the bubbler come into play.
Step 2
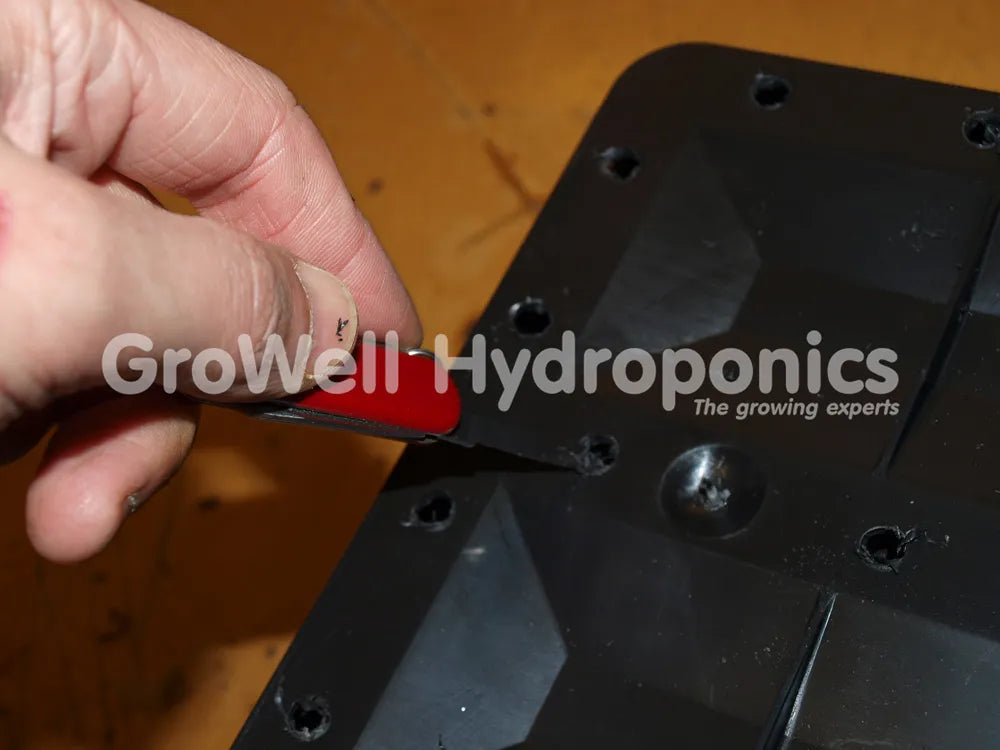
The number of holes is up to you. Just make sure you remove any plastic burrs and give your tray a quick clean.
Step 3
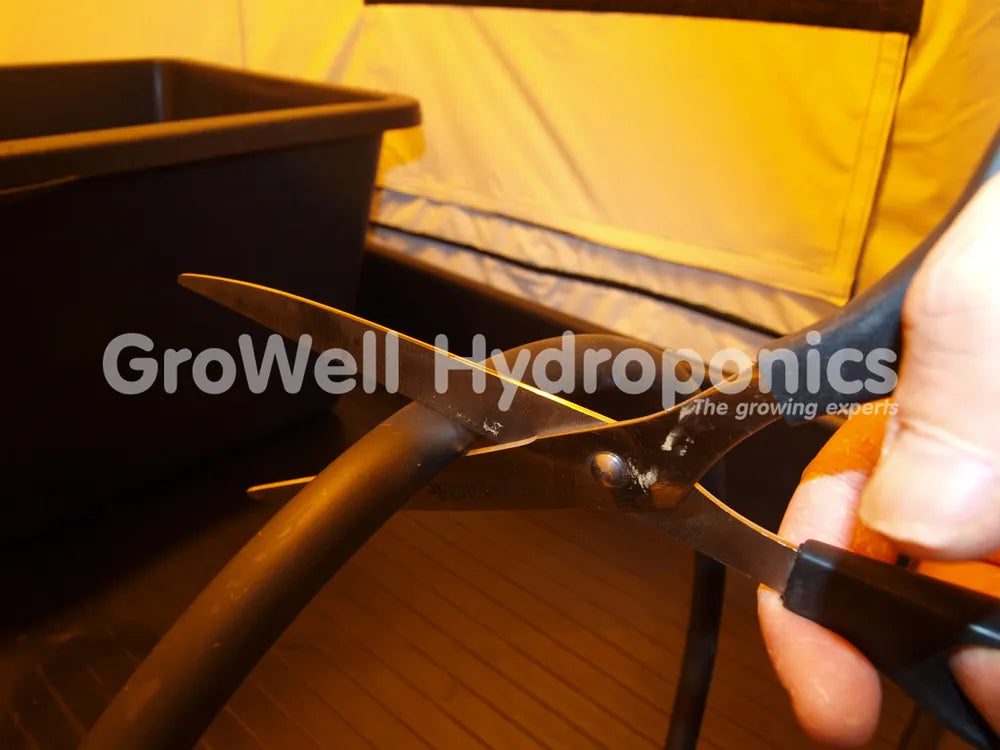
Next, prepare the drip ring. You get a 1m length of irrigation pipe with your kit. Cut off enough to create a drip ring (don't chuck the rest of it away, you'll need it later on).
Step 4
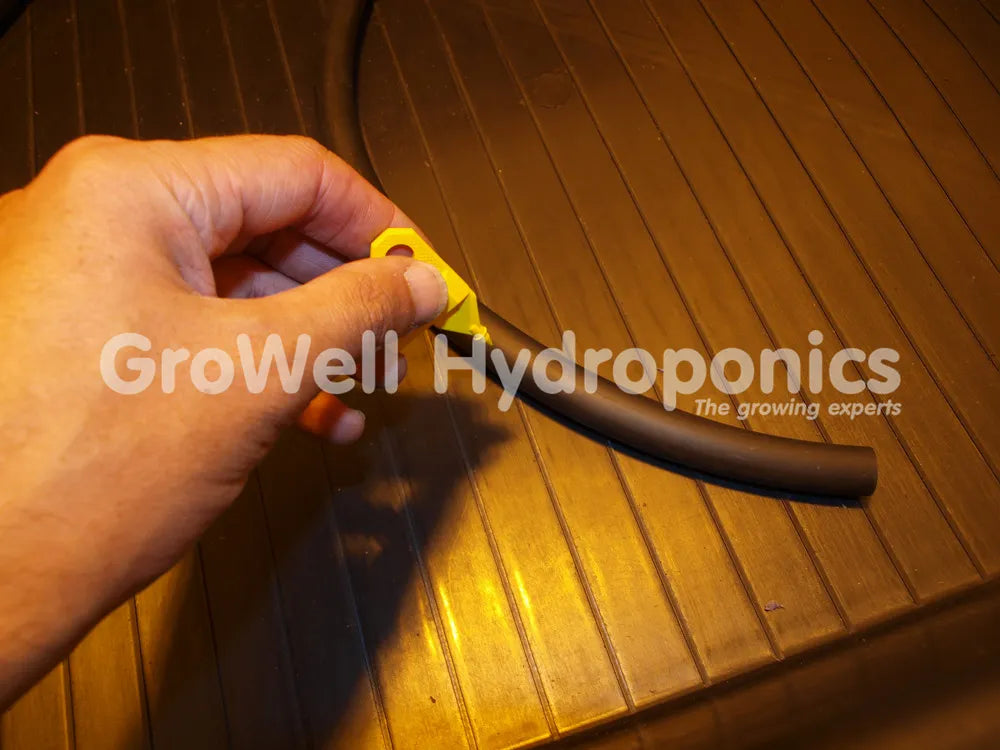
Once cut, pierce holes in your pipe. Nutrient will drip out of these holes.
To keep your flow rate constant, you might want to push nipples through these holes.
Step 5
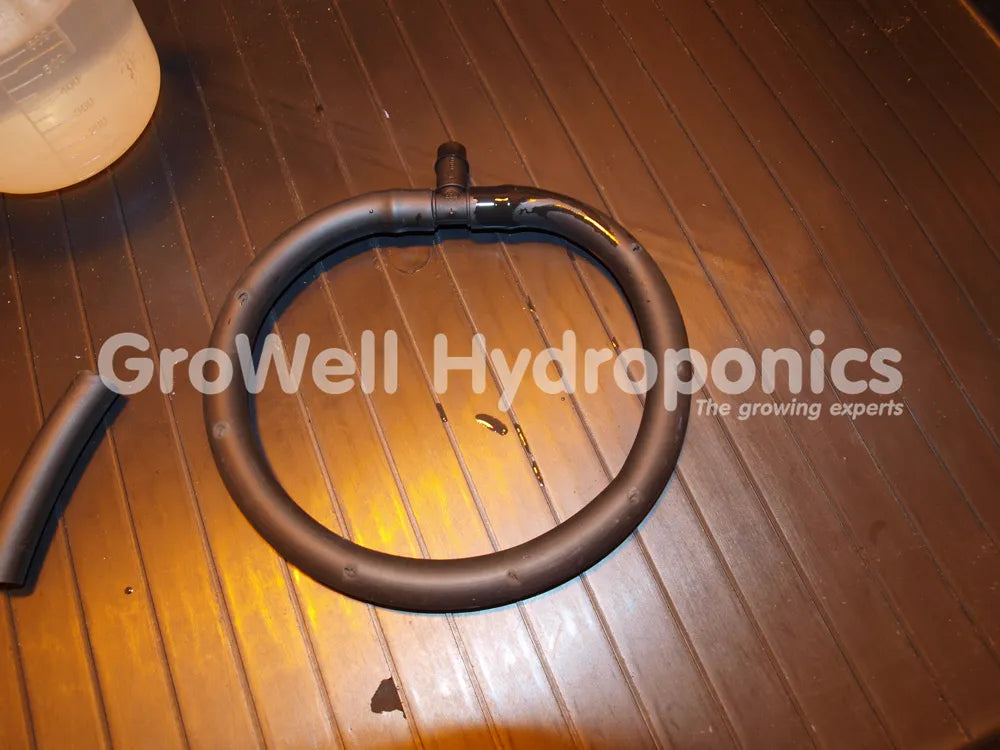
Attach your pierced length of pipe to a Tee Piece to make a loop. Posiiton your loop so that holes are facing upwards.
Step 6
Connect the free end of your Tee to a barbed elbow, using a short length of pipe.
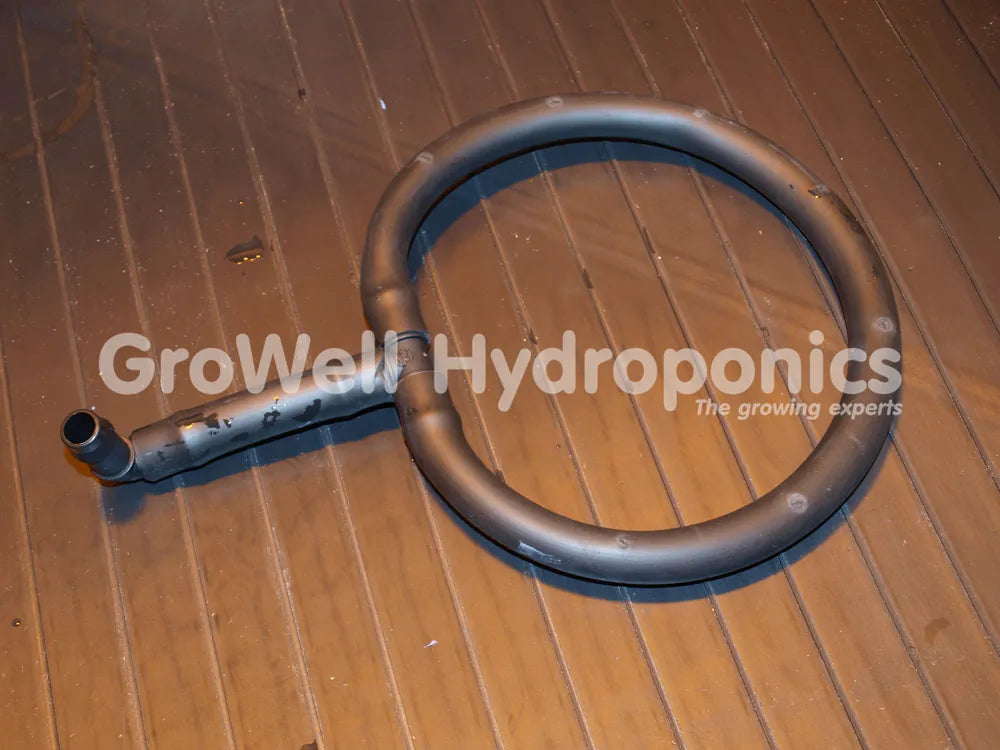
Step 7
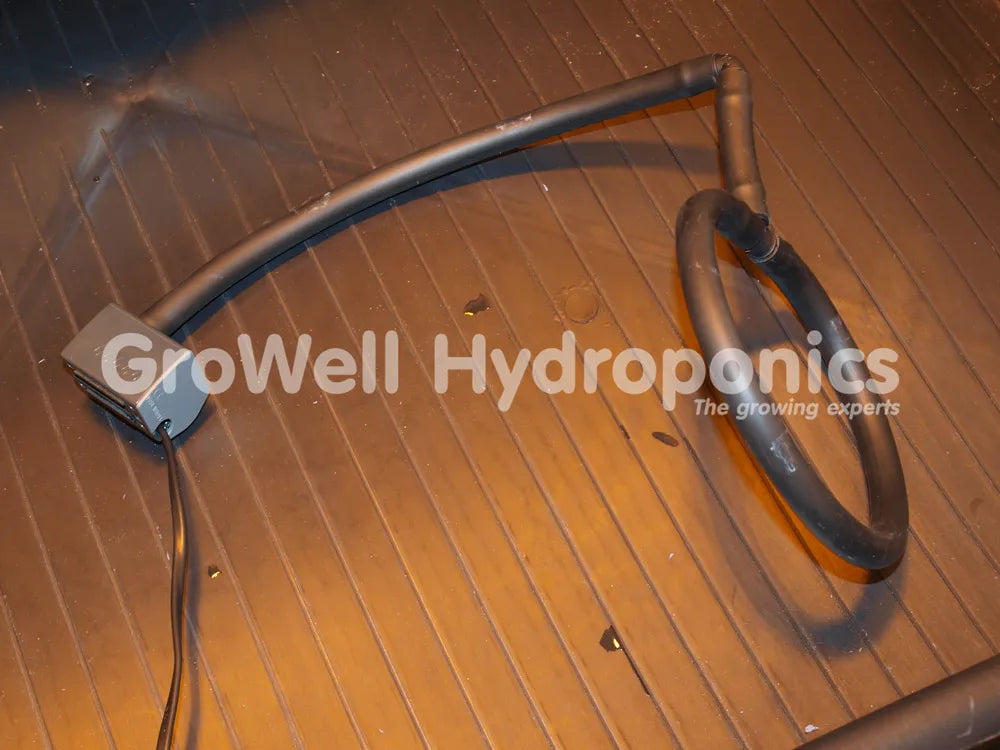
Use the remainder of your pipe to connect your elbow to your pump (which will be submerged at the bottom of the tank). Your drip ring is now done.
Step 8
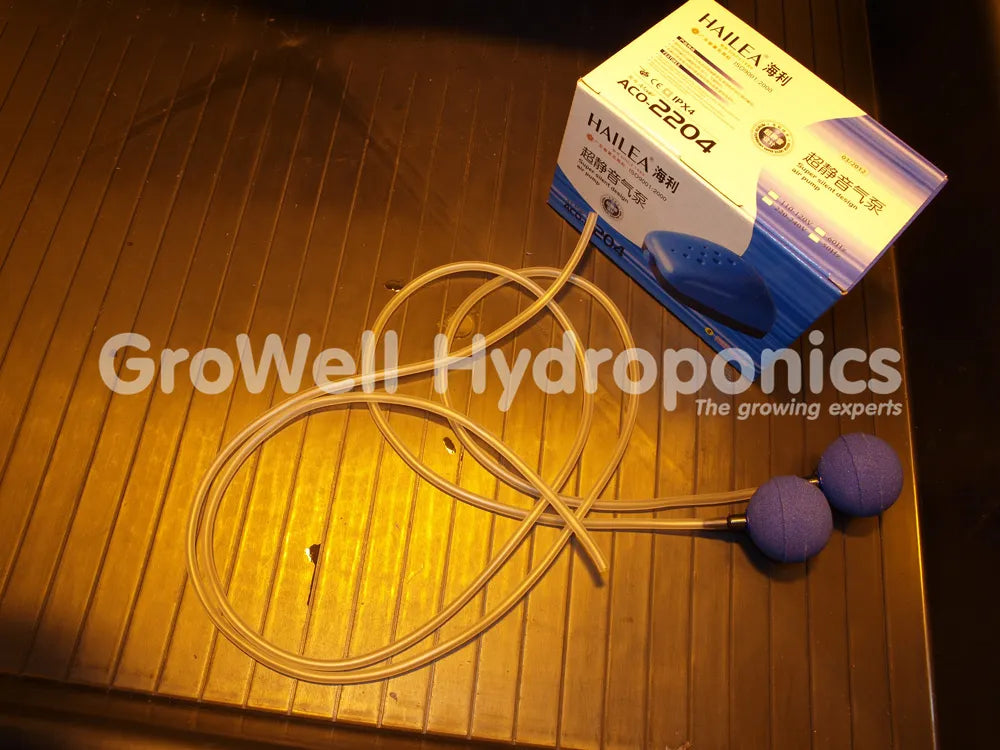
Now for the aeration kit. Cut the air pipe to your desired length. Connect one end to the air pump and the other to the airstone.
Repeat this for the second airstone.
Step 9
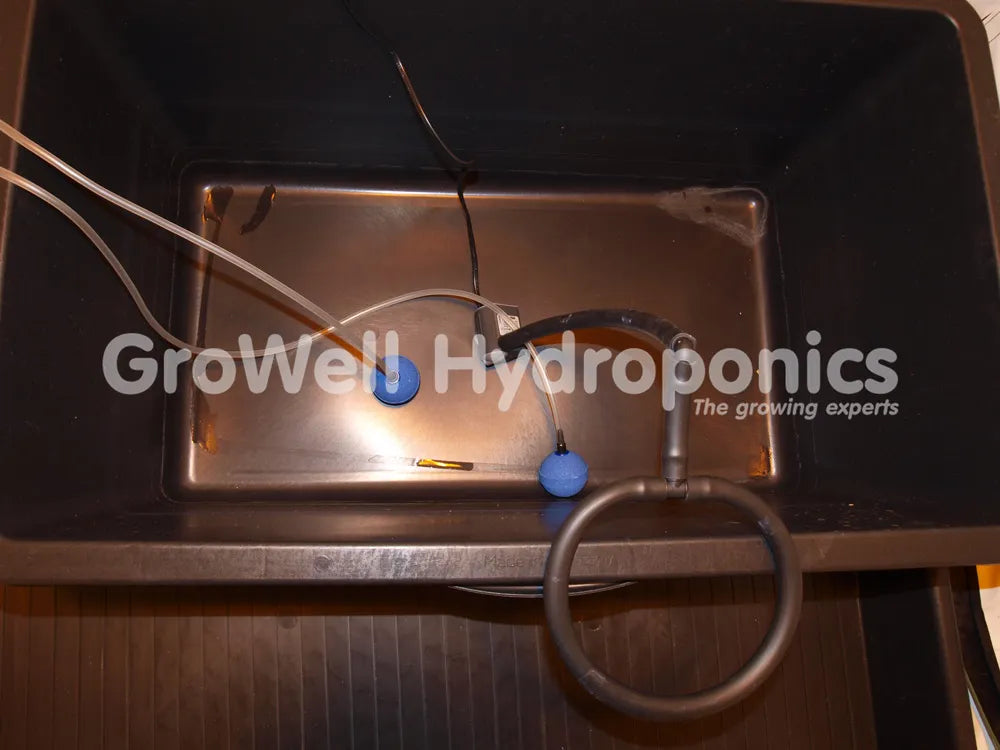
Place your airstones and nutrient pump at the bottom of your tank. Plug both pumps in, but leave them switched off for now.
Step 10
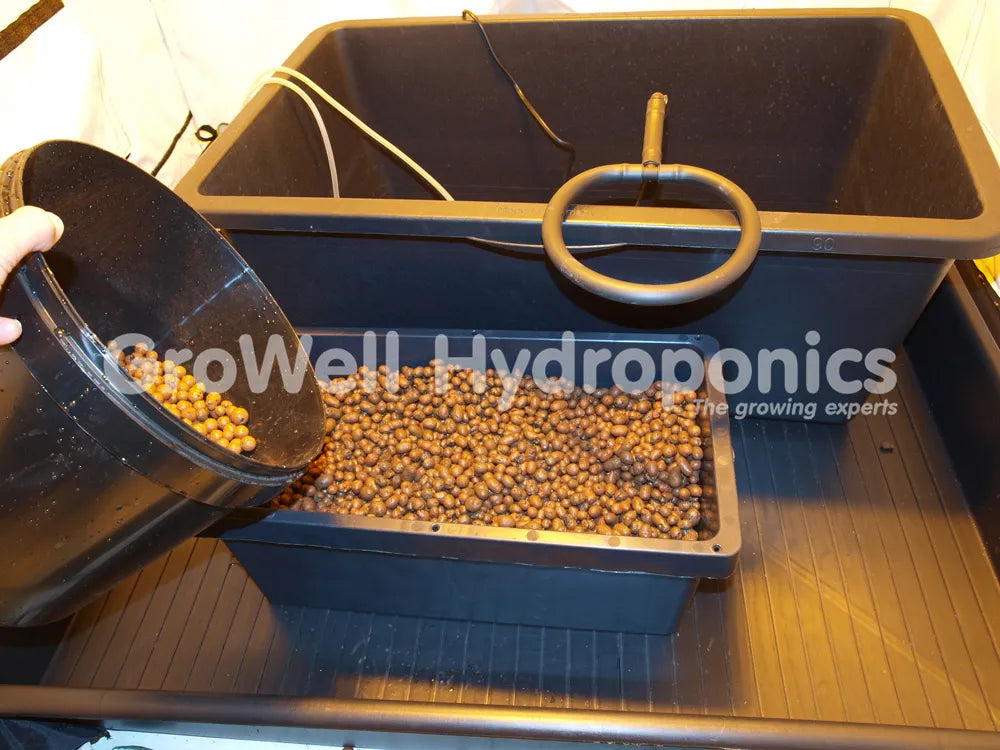
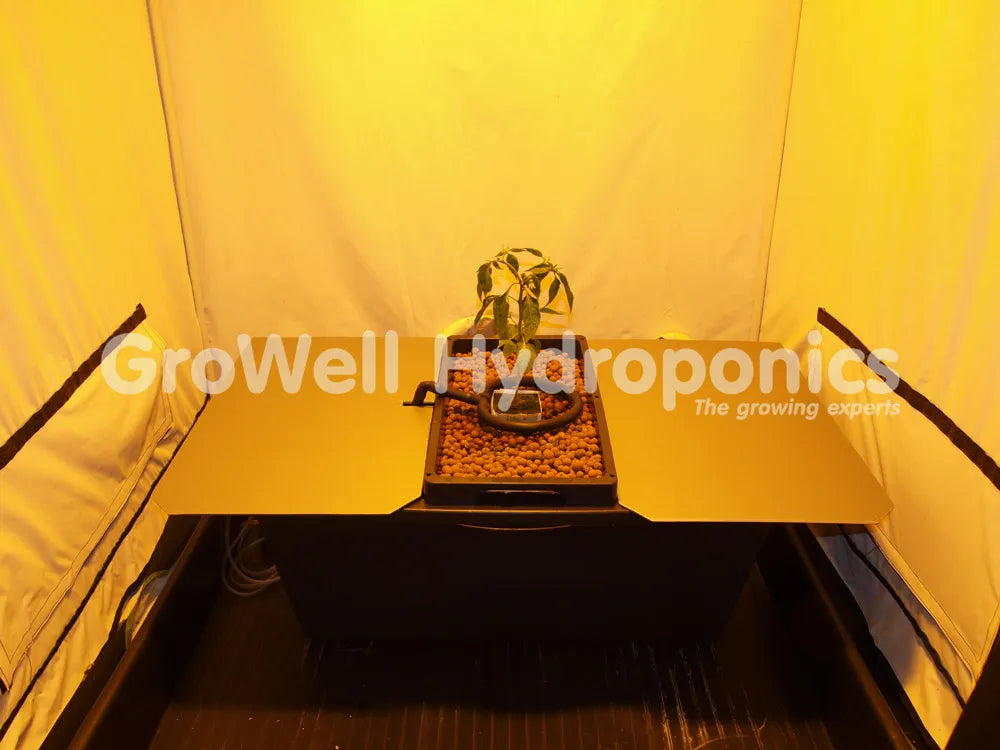
Fill your substrate tray with washed clay pebbles.
Step 11
Before putting the last bits together, it's time to check your system works. Half fill your nutrient tank with dechlorinated water (you'll want it to fall just below the substrate tray.
Step 12
Turn both pumps on to check they work, and to see if enough water is flowing through the drip ring.
Step 13
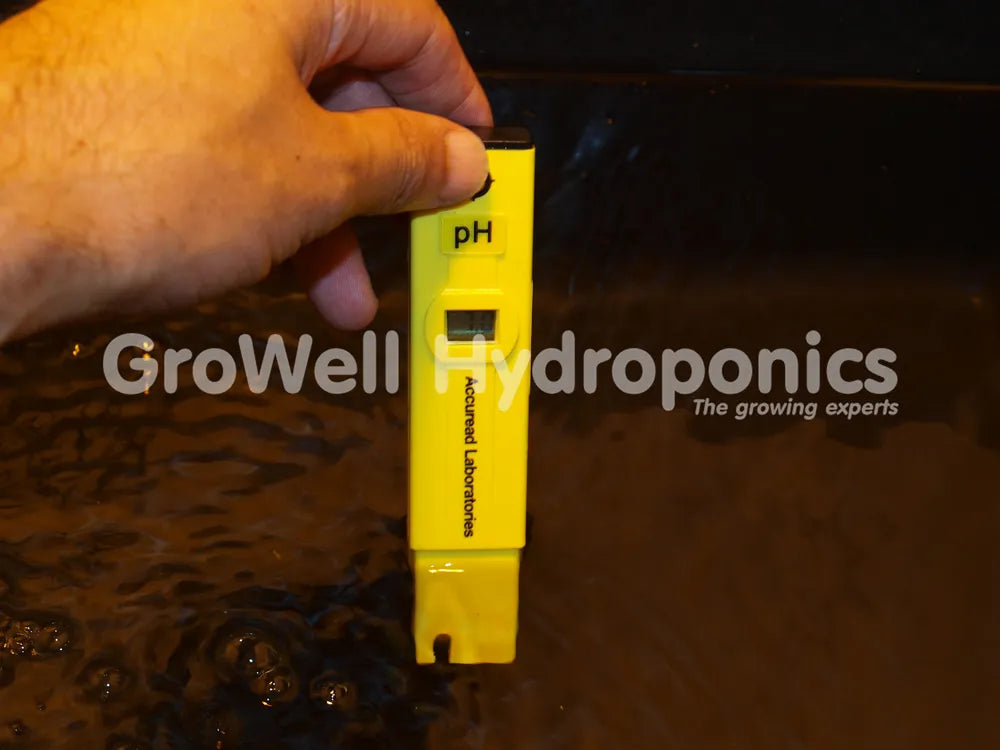
Next, make up a pH-adjusted nutrient solution.
Step 14

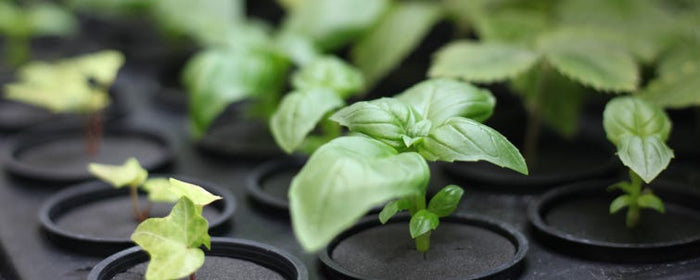
Add a rooted cutting or seedling to the sub surface tray. There's no need to hand water the plant - the drip ring does this.
Step 15
Cover the exposed parts of the nutrient tank. We used two pieces of correx cover, but you can also use Total Blackout sheeting.