Flowering Masterclass: What You NEED To Do
If you want a great harvest, here are 7 things you should do during flowering.
1. Keep your humidity between 45 – 65% RH (flowering)
Your RH readiang tells you how much water vapour your air is holding.
It’s a percentage (%) of the maximum amount of water vapour your air could hold.
Example: If your RH is 100%, your air cannot hold onto any more water vapour at that temperature.
When flowering, your relative humidity needs to be 45 – 65% RH. This is much lower than it is in vegetative growth (65 - 75%).
Why? To protect your plants from rot. Rot isn't really a risk during vegetative growth, so you can keep your humidity high to help optimise growth.
During flowering, plants are at risk of rot, and a high humidity increases their risk. To protect plants, keep your humidity to 35 - 50% RH.
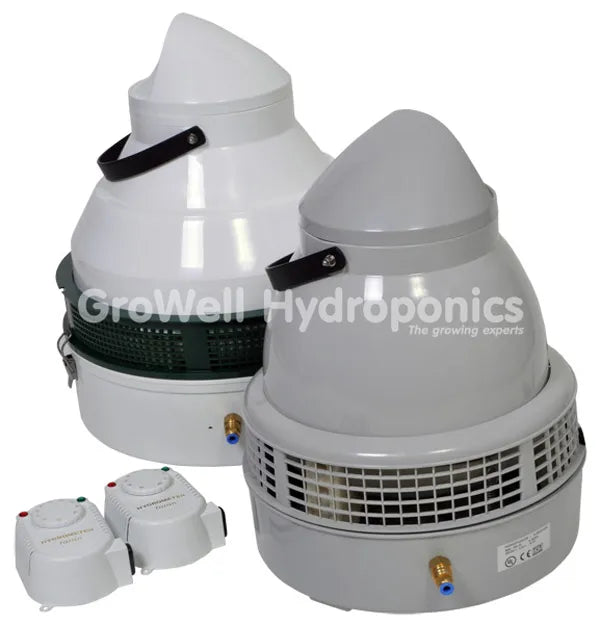
Use a humidity meter, humidifier and dehumidifier to stay within your target. Make sure you only use filtered water when using a humidifier.
2. Get Your Temperature Right
During flowering, your grow room temperature should be between:
- 22oC and 23oC (lights off)
- 24oC and 28oC (lights on)
It’s also important to avoid sudden drops and spikes in temperature.
Sudden drops (normally when you switch lights off) …Can shock your plants.
Sudden rises (normally when you switch lights on) …Can cause condensation to form on the surfaces of fruit, leading to bud rot (botrytis).

To prevent dramatic drops and rises, gradually warm your grow room before switching your lights on, and cool it before switching your lights off.
Use a grow room heater and temperature meter to do this.
A lot of growers have their ‘lights on’ period at night, and their ‘lights off’ period during the day. Since it’s colder at night, doing this helps keep your temperature stable.
Another great way of preventing temperature spikes is with a GAVITA controller. They slowly dim and brighten your lights over a period of time. Don't forget to use GAVITA E-Series lights with your GAVITA controller.
3. Use the Right Grow Lights
During flowering, you need to provide plants with red and orange wavelengths of light (around 580nm-700nm). Plants use these wavelengths for ripening fruit and maturing flowers.
By providing your plants with orange and red light, and switching to the flowering light cycle, you're mimicking the seasonal conditions that plants normally flower in. This signals to your plants that it's time to flower. There are two ways to provide your lamps with this light:
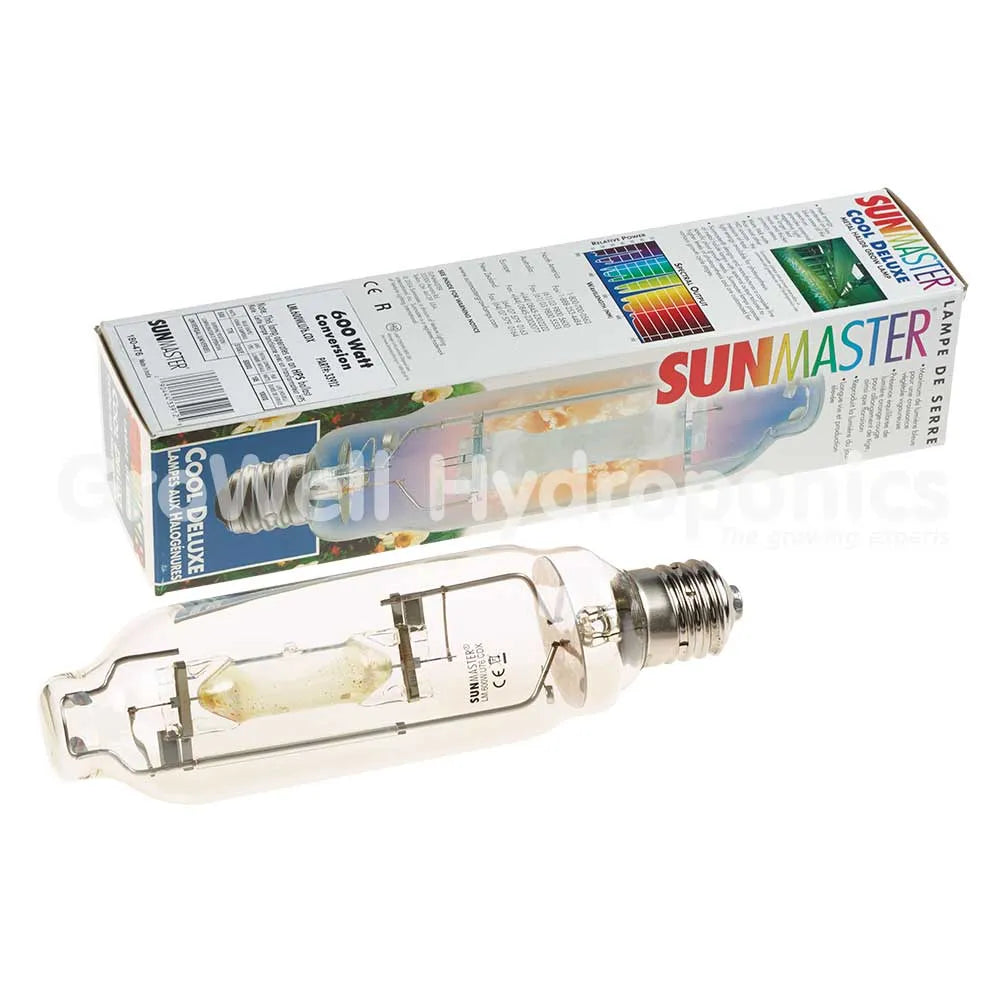
- Most growers: Use a dual spectrum sodium lamp through the entire grow - it emits red, orange and blue light. Our bestselling one is the 600W Grolux
- But you can: Start off with a metal halide lamp for vegetative growth (more blue light), then switch to a pure sodium lamp (more red and orange) for flowering.
To get a broader light spectrum with lots of UV-A & UV-B, use GAVITA's supplemental plasma grow light. It'll intensify the colour, flavour, aroma of fruit and flowers, while boosting essential oil production. (Read more on UV-A & UV-B here).
4. Use Flowering Boosters
For best results, use a PK booster and bloom stimulator at the same time:
- PK boosters (the building blocks) Plants use lots of phosphorus (P) and potassium (K) during flowering. PK boosters make sure there’s plenty for your plants to use.
- Boosters, aka Bloom Stimulators (trigger the building) Boosters (aka bloom stimulators) contain active ingredients (often triacontanol), that - in short - trigger your plants’ metabolism. Boosters drive growth, photosynthesis, water uptake & enzyme activity.
To be really precise, use a different additive for each stage of flowering:
- Early flowering (Bud Blood)
- Mid flowering (SHOGUN PK Warrior with SHOGUN Sumo Boost)
- Late flowering (SHOGUN Dragon Force)
5. Lower Your Nutrient Strength 2 - 3 Weeks Before Harvest
Forget what you think you know about nutrient strength.
A lot of manufacturers recommend steadily increasing your feed’s strength throughout flowering, or keeping it consistently strong.
BUT
A stronger feed isn’t always best, if the boffins at SHOGUN are to be believed.
Their thinking is that you should start off strong, then lower the strength of your feed around 2 – 3 weeks before harvest.
Why? Because that’s when all vegetative growth stops. Plants are no longer adding stems and leaves at this point.
Continue using a strong feed, and you could create toxic conditions or over fertilise your plants.
The exact strength to aim for depends on your climate and other factors. As a rule, you should lower the strength of your feed by 20 - 30%, around 2 - 3 weeks before harvest.
Another thing to remember, is that in drier and hotter grow rooms, your plants transpire more. They’ll absorb more water, and more nutrients with it, so you should lower your nutrient strength to prevent overfeeding.
6. Aim for a CO2 level of 1000ppm - 1200ppm
A good supply of CO2 will increase the rate of photosynthesis, leading to faster plant growth and ultimately much bigger yields.
Aim for a CO2 level of 1000ppm to 1200ppm and your plants will grow up to 40% faster!
To really boost your CO2 levels effectively, you need either a closed loop setup or to run air cooled lights. Otherwise you'll end up just extracting loads of the CO2 you dose in.
To boost CO2 levels, you can:
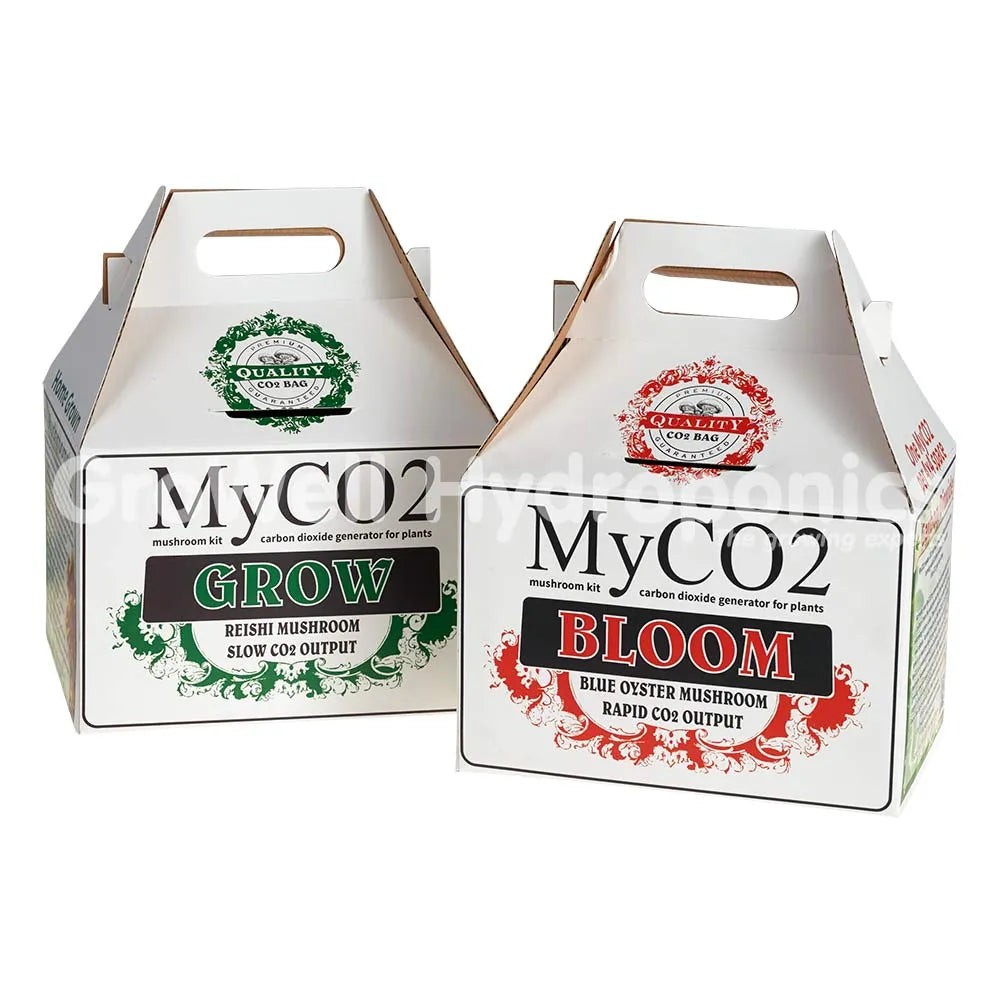
Use MyCO2 Bags
CO2 Bags slowly release a low level shower of CO2 over a period of time. We recommend using MYCO2 Bags. Most bags start releasing CO2 before they even reach you, MyCO2 bags don't. They're activated by you, so that no CO2 is lost in storage or warehouses. With each bag you can grow an edible batch of mushrooms, too! One MyCO2 Bloom Bag consistently produces around 1200 PPM for up to 180 days. Use one bag per 1.2m x 1.2m x 2m area or one MyCO2 bag per light
Use a CO2 Generator
The best way of reaching and maintaining optimum CO2 levels is with a CO2 Generator. They’ll give you a consistent and perfectly controlled level of CO2 when used with a CO2 sensor and regulator. In large growing areas, they’re ideal.
Ensure you have a good air exchange system
An air exchange system draws away hot, CO2 depleted air and replaces it with fresh, cool, CO2 rich air. It’ll depend on the size of your grow room, but as a rule, aim to replace the air at least 20 – 30 times per hour. Translate that to cubic metres per hour with this calculation: Grow Room Length x Width x Height x 20 Timesexample: 4 metres x 5 metres x 2.6 metres x 20 air exchanges per hour = 1040M3H required
Use an air circulator with your air exchange system to ensure CO2 is evenly distributed in your grow room.
7. Shorten your flowering cycle
Impossible, right? Wrong.
Just shorten your lighting cycle.
The normal flowering cycle: is based on a 24hr day (12hrs ‘lights on’ + 12hrs ‘lights off’)
A shortened flowering cycle: is based on a 20hr (10hrs ‘lights on’+ 10hrs ‘lights off’)
As far as your plants are concerned, they’re still flowering for the normal number of days. But because these days are shorter, you can fit more of them into a shorter space of time.
Overall, you’ll shorten your flowering cycle by 224 hours (just over 9 days!)